

How To Make Jalousie Windows
How to close the gaps in your jalousie/jealousy windows (that's the louvered kind)
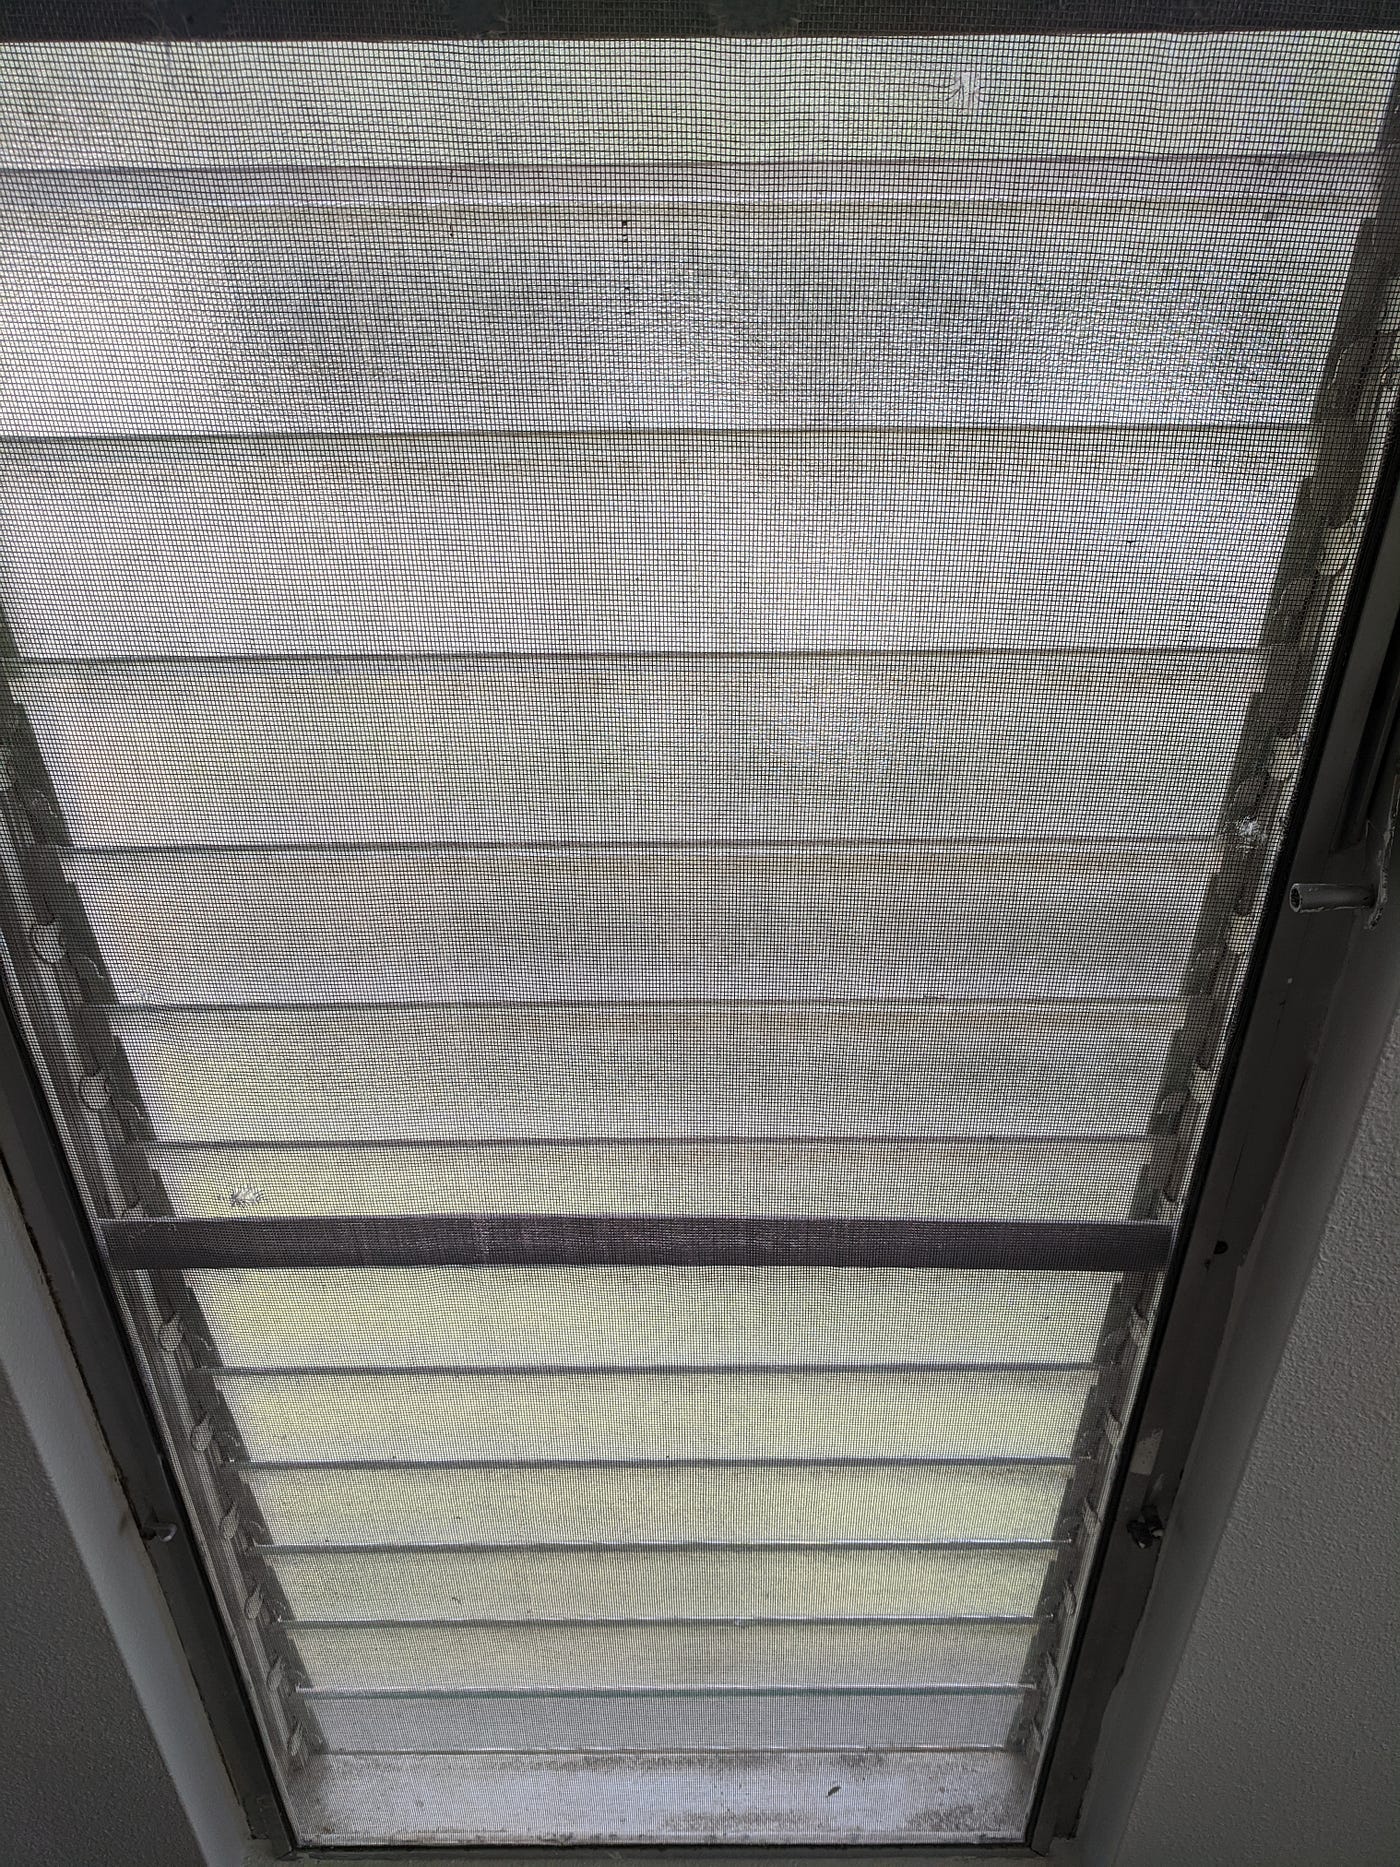
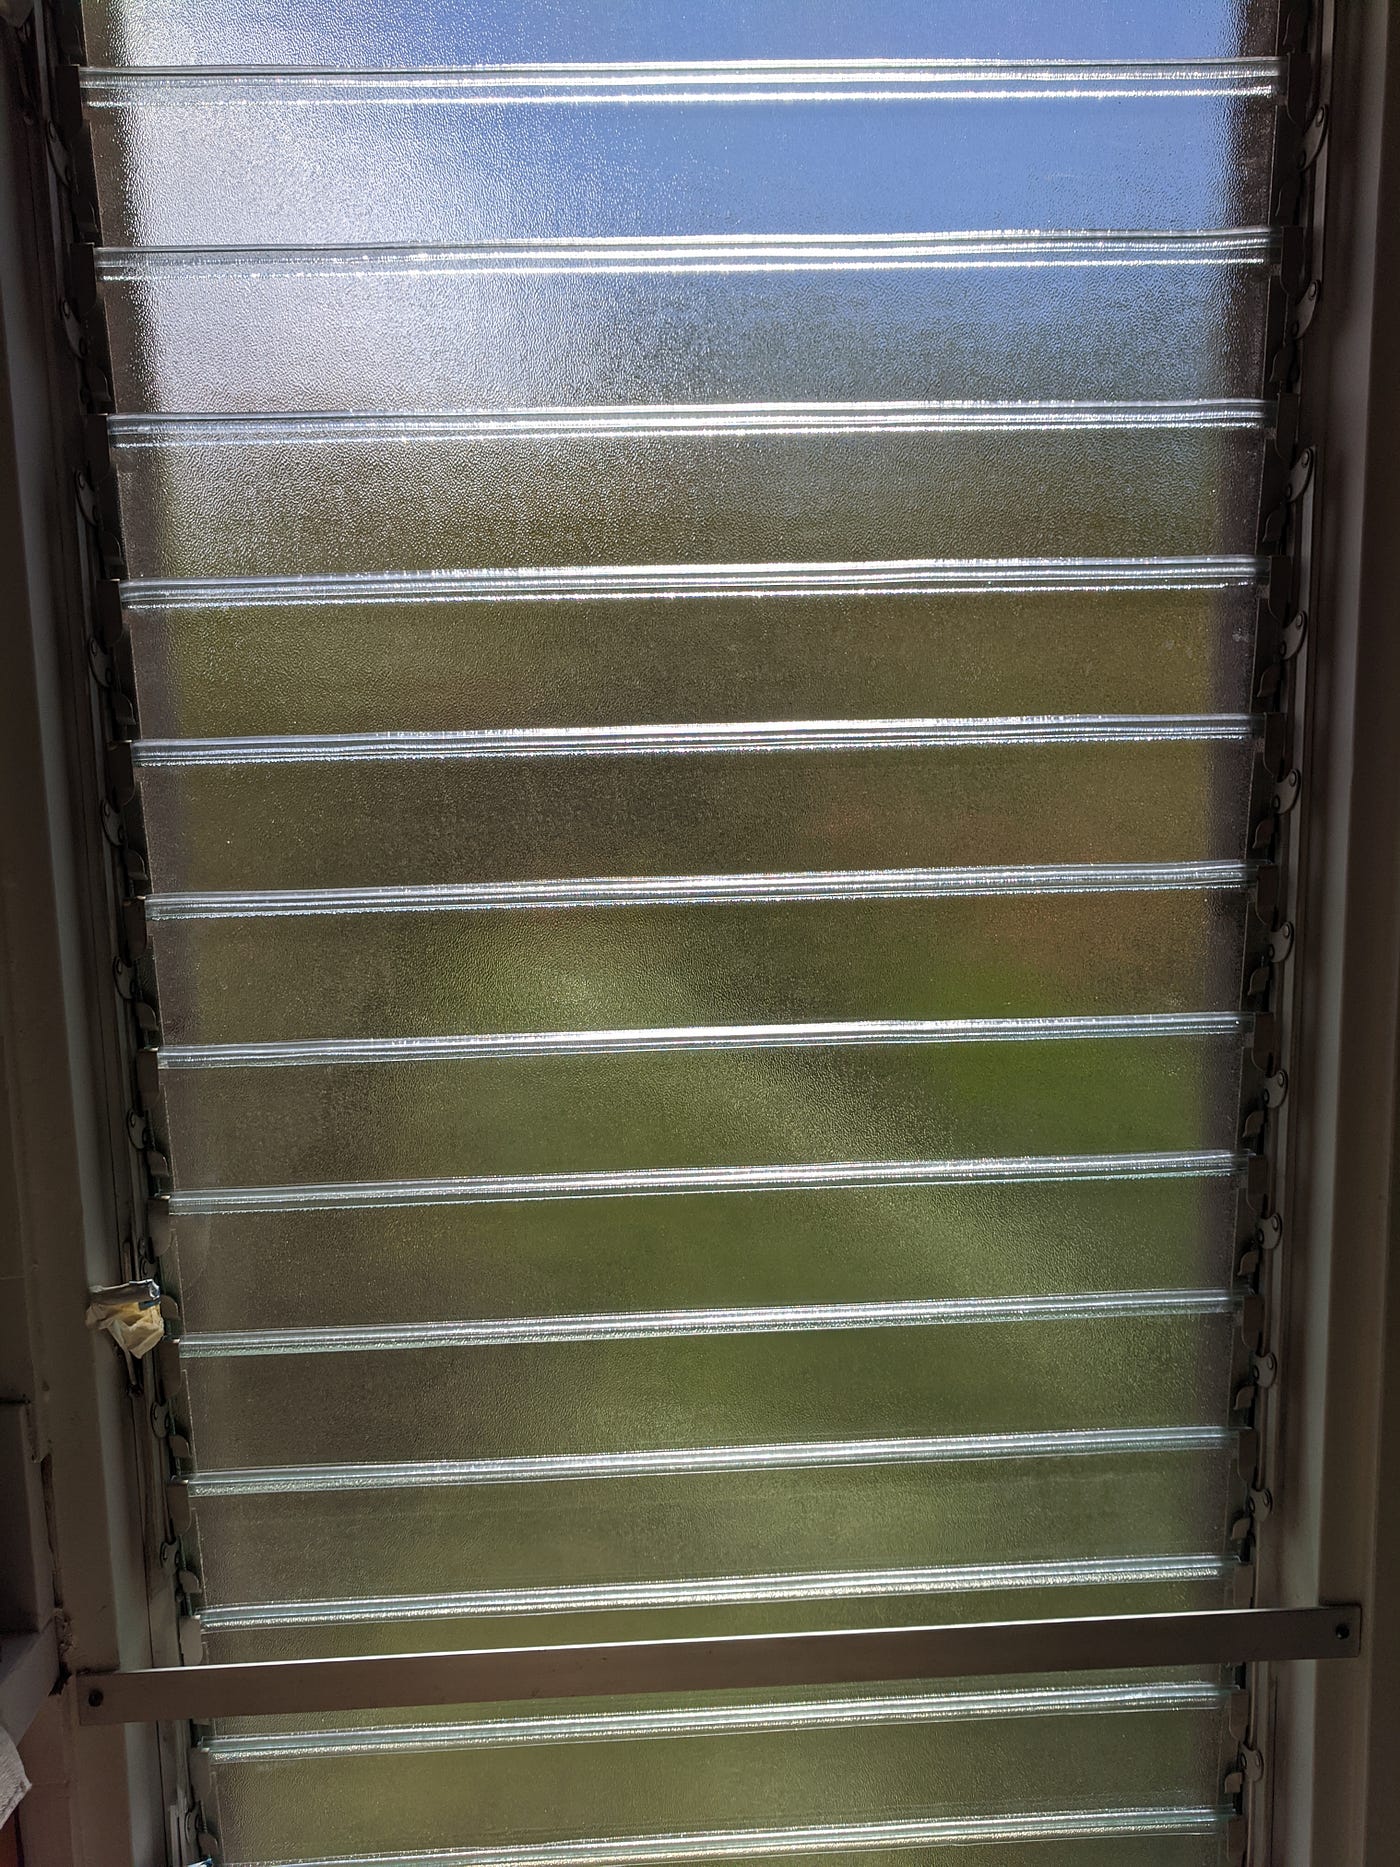
Jalousie windows are designed to maximize airflow because they don't cover whatever significant portion of the window when completely open, unlike traditional sliding windows which typically cover half the window when fully open.
BUT, jalousie windows are also known for existence drafty fifty-fifty when completely airtight, considering — well — most of them don't completely close.
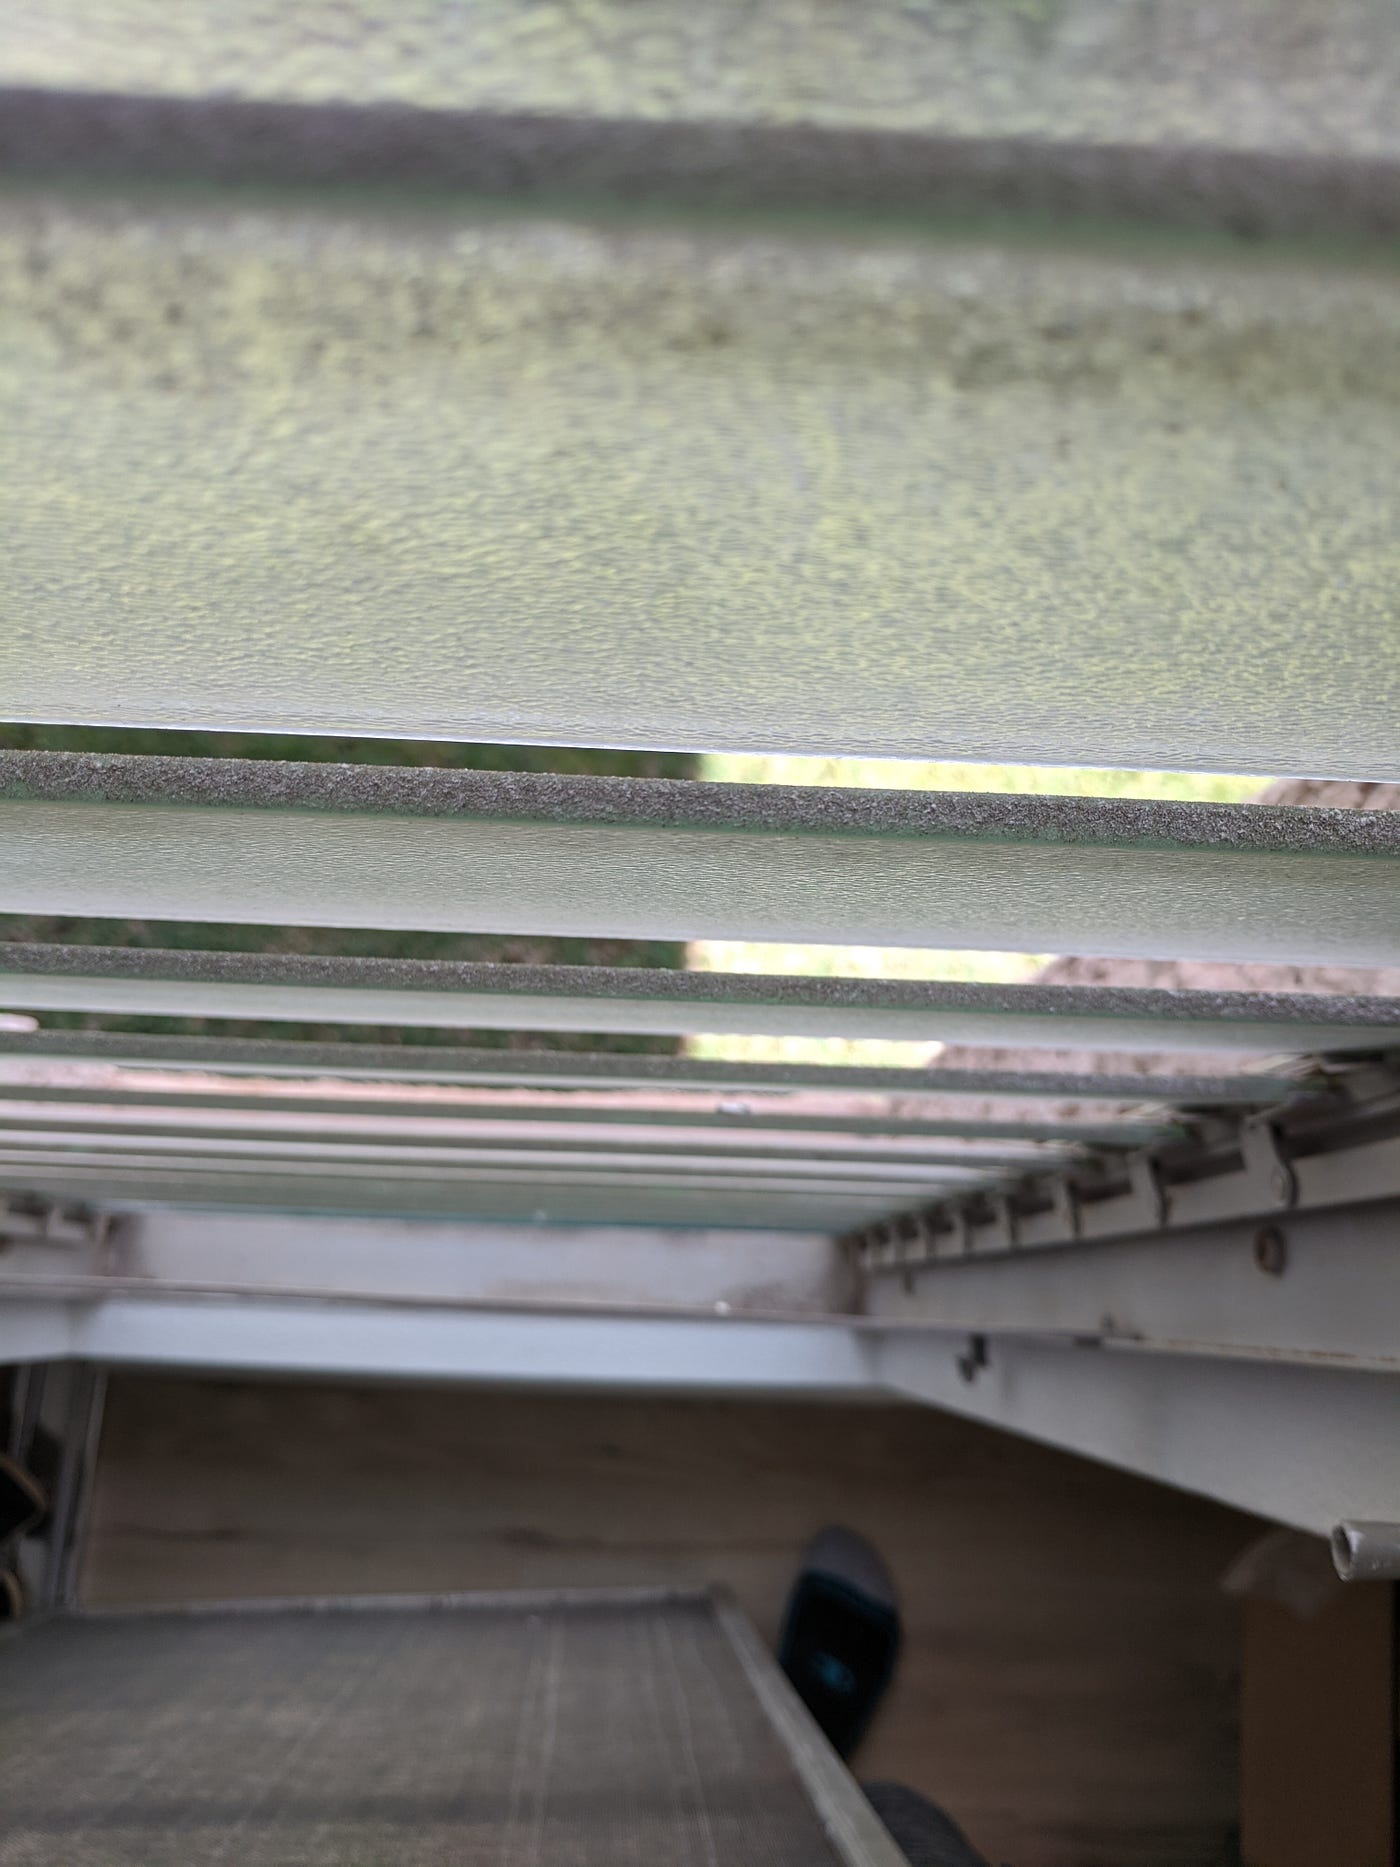
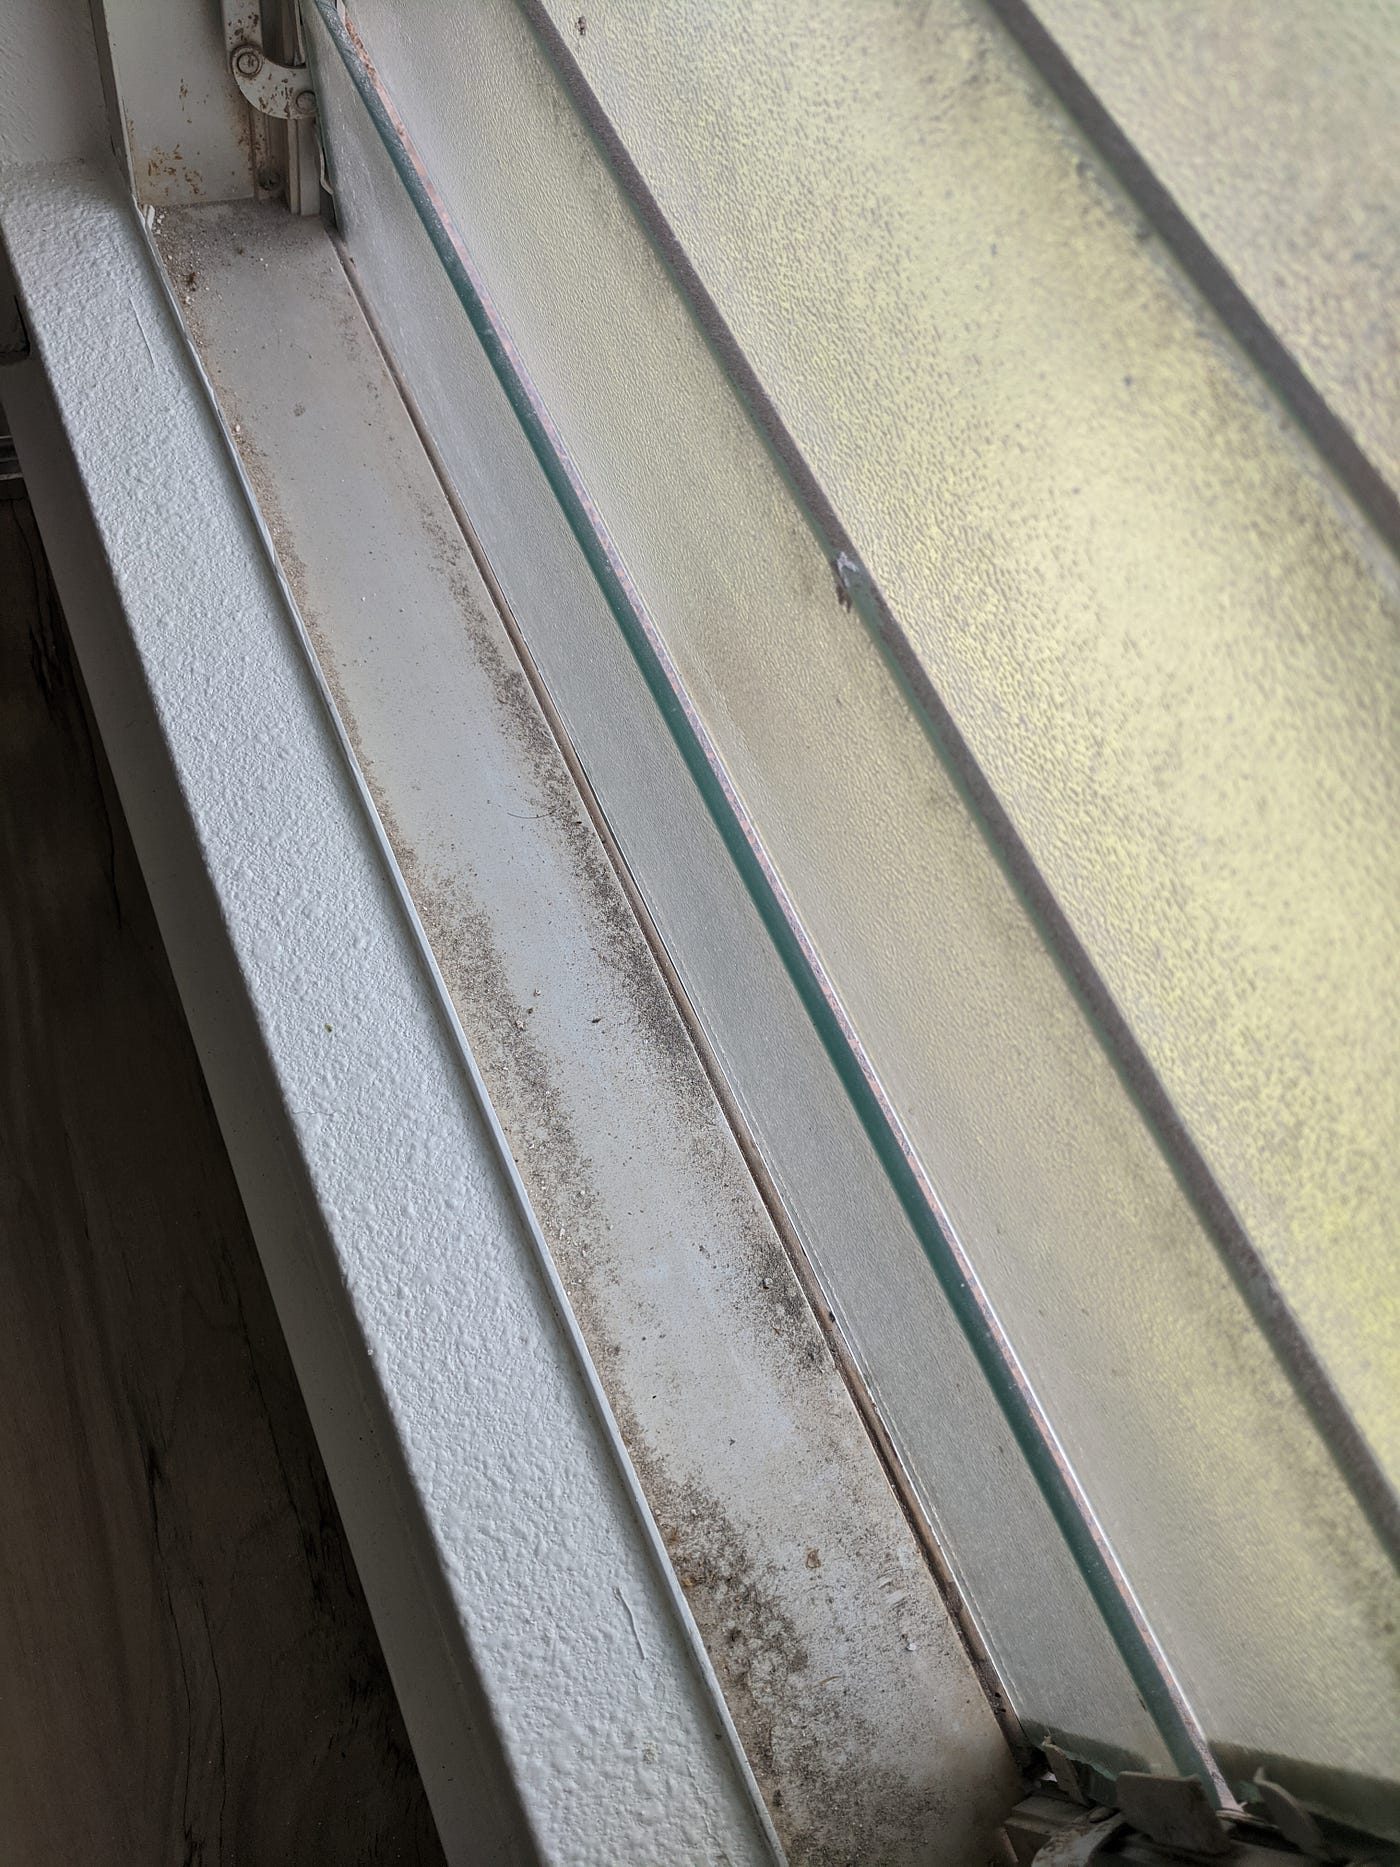
This, of course, poses lots of problems: Those gaps bleed out air workout like money bleeds out of a pocket with holes; they as well let in tons of dust, depending on how windy your surface area is (information technology is often very windy where I live); and, finally, bugs can use them to infiltrate your home.
My jalousies leak the cool air from my A.C., but I have solar panels that render my electrical bill pretty much costless. And the screen is on the inside of the in a higher place-pictured window so it keeps the bugs out, thankfully. But that's not ever the case as you'll see afterwards in this post. However, aught can cease the dust that blows in, without me altering the windows somehow.
There are a number of options out at that place for altering your jalousies to fight dorsum against the issues mentioned to a higher place, but they are either expensive and tons of work (changing out the windows entirely) or they render the window un-useable (sealing them with a clear tempest barrier).
So, hither's the best solution considering it'south the simplest one (IMO) and not very expensive.
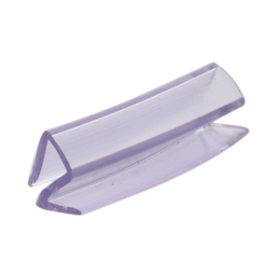
You lot become out and go yourself some clear jalousie and louver slat vinyl. I've found a decent cost ($39.65, shipped) for a roll of 100' from DK Hardware, and for my 700 sq ft. condo, I needed to buy two rolls.

Now, how practice you apply information technology to close those pesky (and potentially plush, for those whose electrical nib isn't nearly covered by solar panels) gaps?
It'due south piece of cake, though a bit tedious.
- Wash your jalousie slats i at a time. I washed them in my kitchen sink with a soapy grout sponge. I also rested one finish of jalousie drinking glass on another grout sponge in the sink and then as not to scratch the stainless steel bowl. Annotation: Exist conscientious when removing glass jalousies from the window machinery — they are known to scrap if you don't handle them right.
- Place the glass slat on a towel on the counter and use some other hand towel to dry out it off. Take care when drying the short sides, or unfinished edges, (these are the ones that sit in the machinery) every bit they tin be razor sharp.
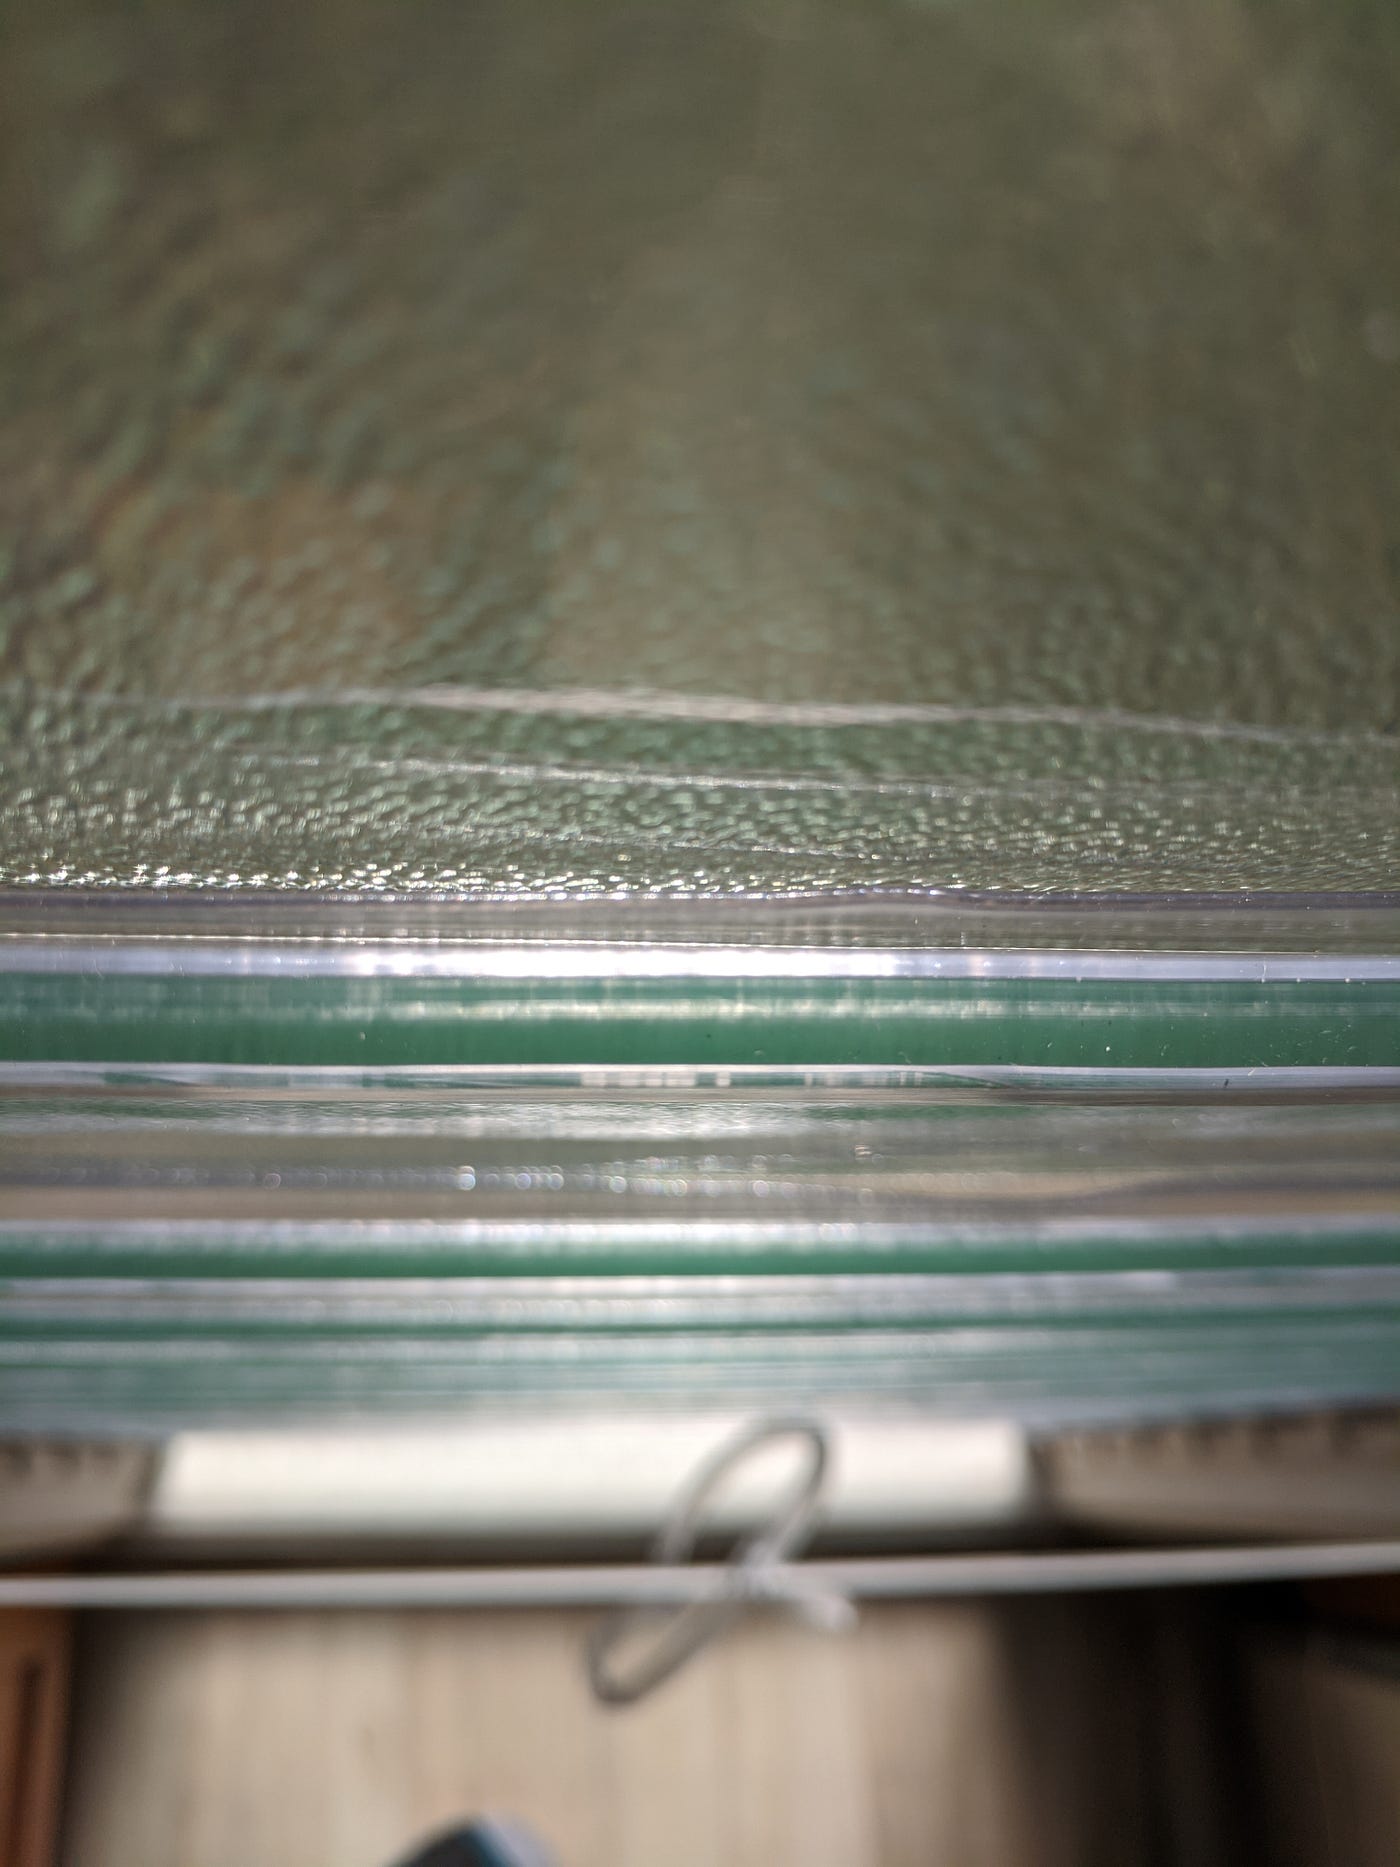
- Pull a length of vinyl from the ringlet to match the length of the jalousie. Pull taut, but not so much that you lot're stretching the material. If you stretch it, information technology'll only shrink when yous put it on the window. When it'southward taut, experience free to leave an one/viii'' long on either side. Now, take a sharp pair of scissors and cut.
- Pull open the rectangle terminate and sideslip it onto one long end of the slat. If your slats are frosted/privacy slats, make sure the vee is on whatever side of the drinking glass that faces out when it's installed in the window.
- Push/slip the vinyl on the remainder of the length of the slat.
- Reinstall and repeat steps for the next slats until you're done.
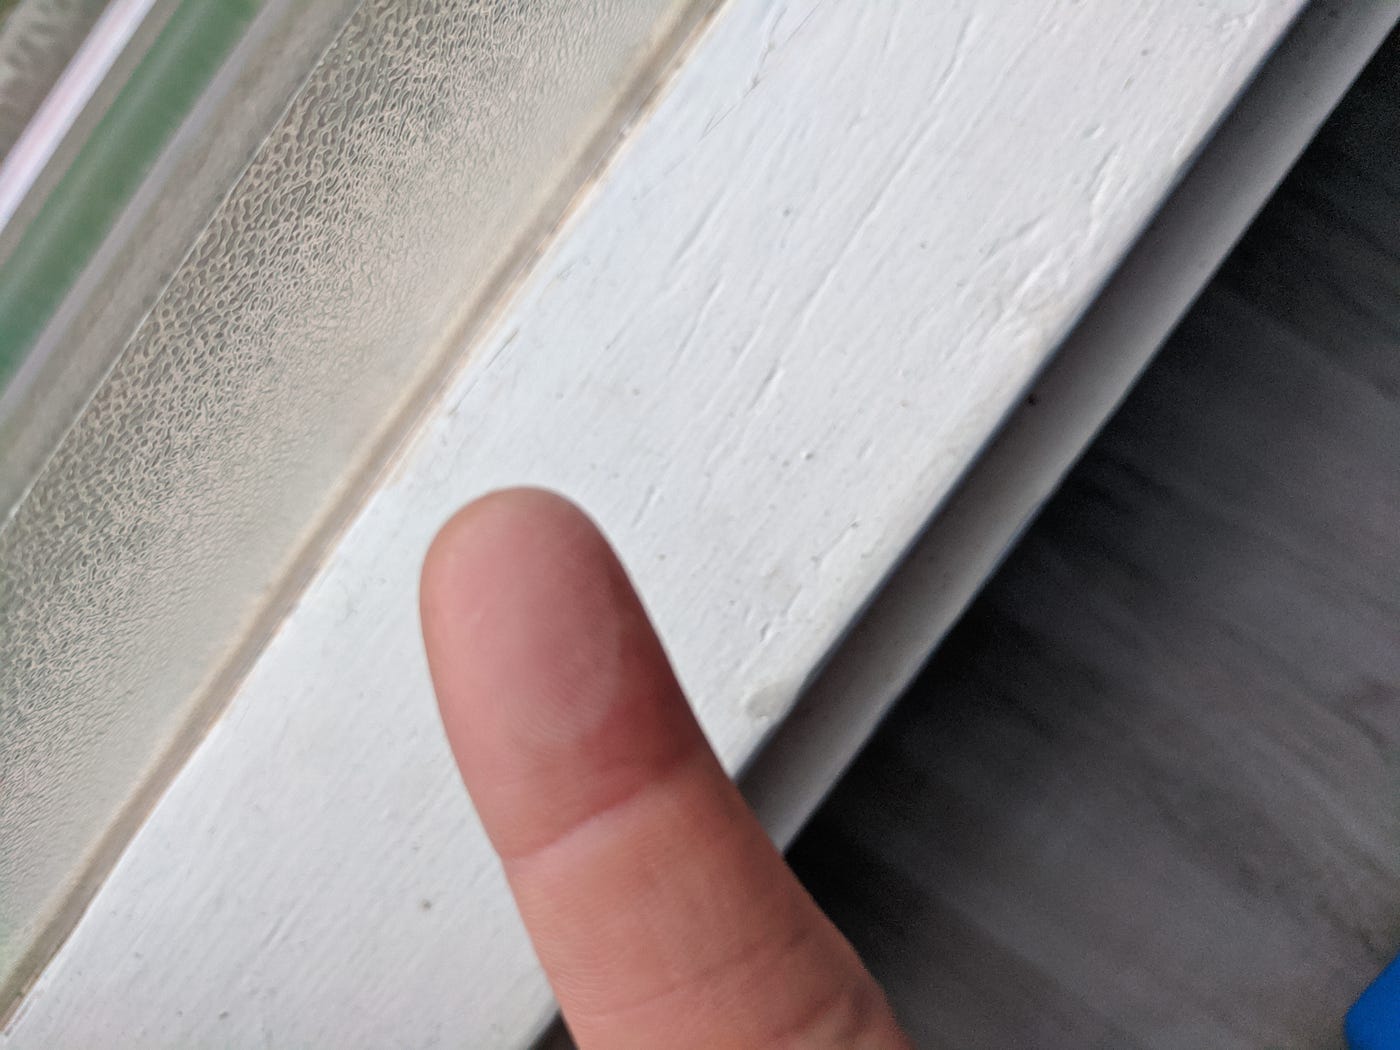
The nice thing nearly these vinyl pieces is they aren't an middle sore, either. They blend well with the glass, as if they should take been in that location from the first (they should have).
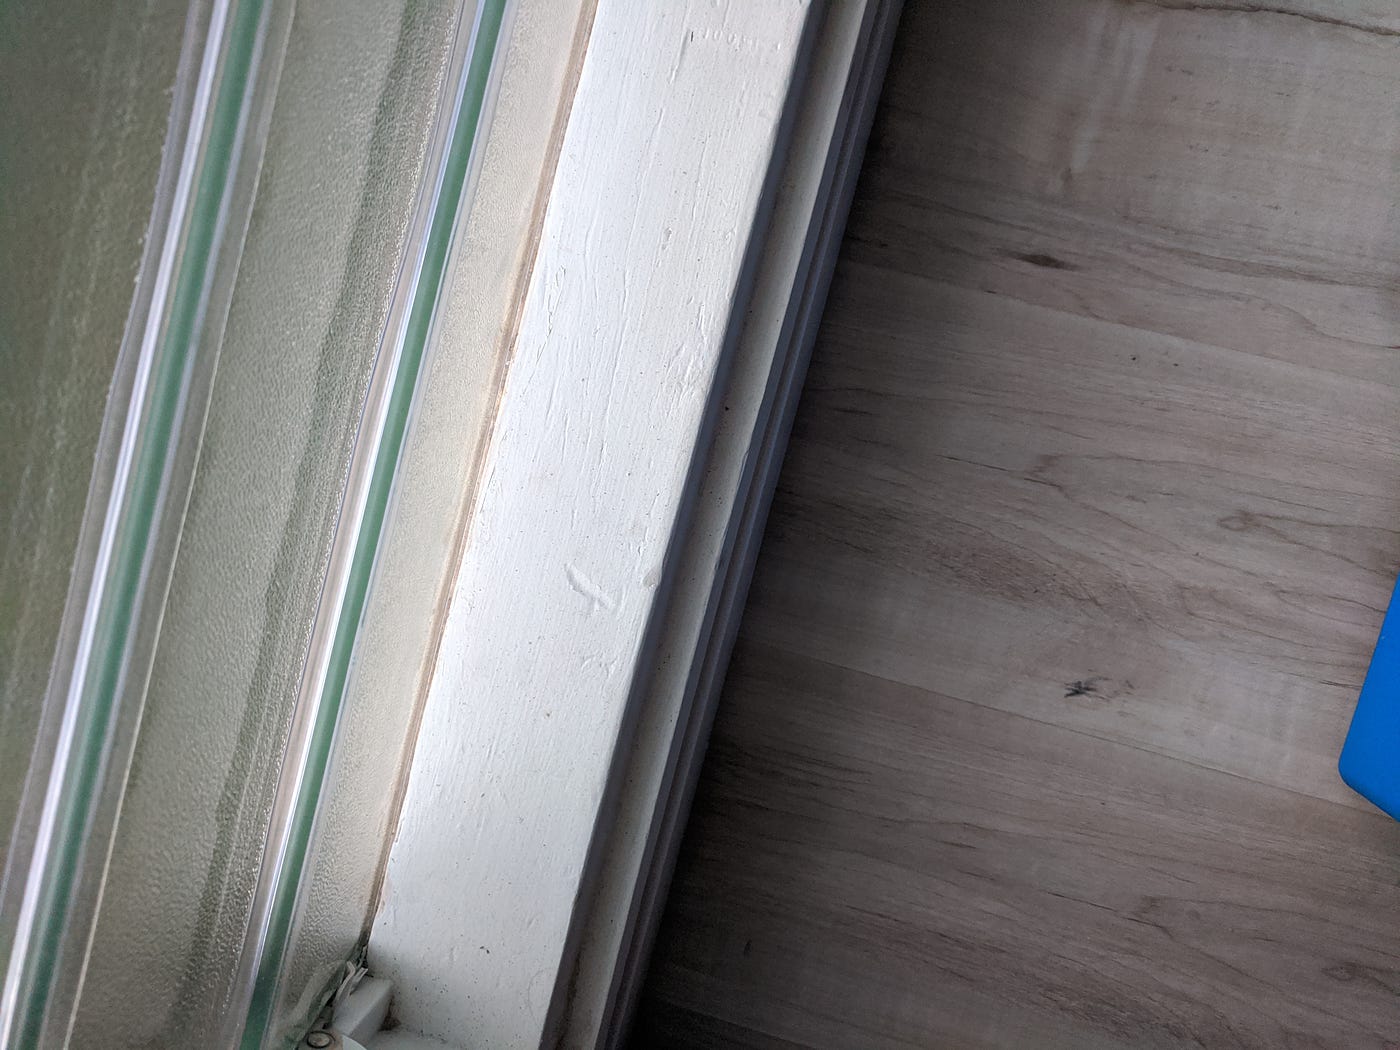
About importantly, the gaps are closed. No more dust for me! Well, not much anyway.
And there you have information technology. I apologize for not getting photos for each step of the process. Last post, I had problems with photos messing upwardly the numbers — step iv became step 1 if I posted a picture after pace 3 — so maybe I subconsciously meant to NOT take pics then as to avoid that issue again. Or possibly I was just lazy. Or both. Simply I hope this helps you with your jalousies. Let me know in the comments if information technology did help, or if you have a better solution. I'thou always trying to learn new tricks.
Follow me on Twitter at @jasonakinaka for more DIY, musings, and mostly-meh jokes.
Until adjacent time.
P.S. Final week, I wrote a post about filling flooring gaps, but I promise, I don't take a thing for gaps. The next post won't be about gaps.
My encephalon: I at present take 129 ideas for gap posts.
Source: https://jakinaka.medium.com/how-to-close-the-gaps-in-your-jalousie-jealousy-windows-thats-the-louvered-kind-626f6d5a9e36
Posted by: towerdenteoffores.blogspot.com
0 Response to "How To Make Jalousie Windows"
Post a Comment